Adding USDT to your MetaMask wallet unlocks many opportunities in the Web3 ecosystem. With USDT securely stored in MetaMask, you can interact with decentralized applications (DApps), participate in DeFi protocols, and seamlessly transfer funds across various blockchain networks. Let’s walk you through the process of how to add USDT to MetaMask wallet, ensuring you’re ready to explore the exciting possibilities that await.
TLDR
- MetaMask is a popular non-custodial wallet for managing Ethereum and ERC-20 tokens like USDT
- Adding USDT to MetaMask involves connecting to the desired blockchain network and importing the USDT token using its contract address
- Ensure you use the correct USDT contract address for the specific blockchain network to avoid scams or loss of funds
Metamask Overview
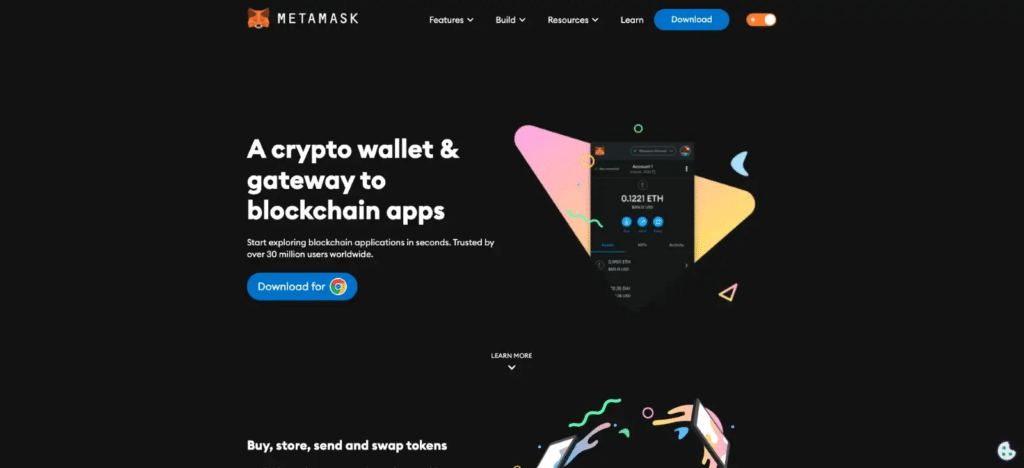
MetaMask is a widely-used, non-custodial cryptocurrency wallet that allows users to store, manage, and interact with Ethereum and ERC-20 tokens. With its user-friendly interface and strong security features, MetaMask has become a go-to wallet for many crypto enthusiasts and DeFi users.
Features:
- Non-custodial wallet, giving users full control over their funds
- Available as a browser extension and mobile app
- Supports Ethereum and ERC-20 tokens, including USDT
- Allows interaction with DApps and DeFi protocols
- Offers a built-in token swap feature for easy token exchanges
- Provides a secure and intuitive user interface
Step-by-Step Guide: Adding USDT to MetaMask
Follow these simple steps to add USDT to your MetaMask wallet:
Step 1: Install and set up MetaMask
Download the MetaMask browser extension or mobile app. Create a new wallet or import an existing one using your seed phrase. Connect to the desired blockchain network (e.g., Ethereum Mainnet, BSC).

Step 2: Obtain the USDT contract address
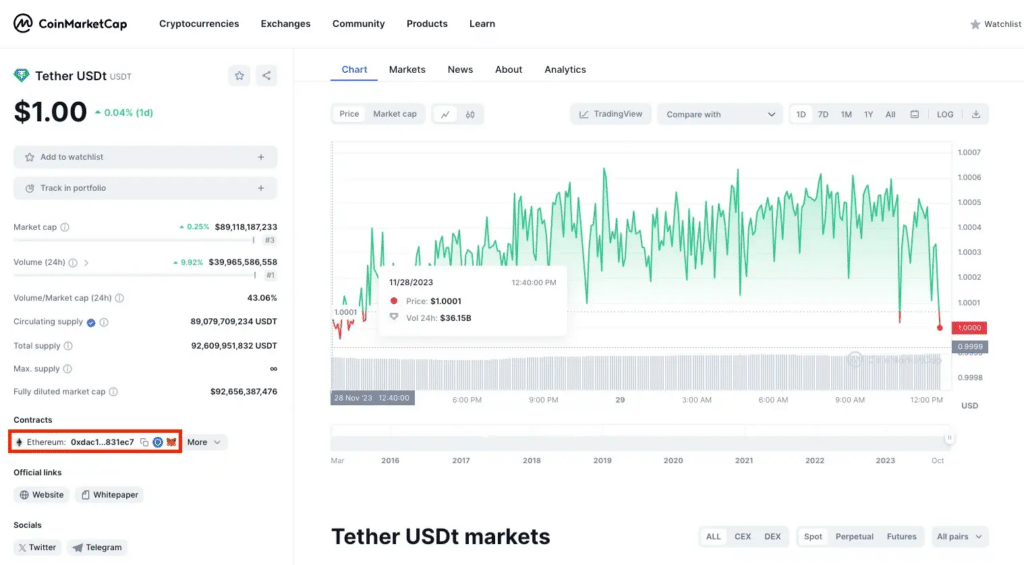
Visit a reliable token information website like CoinMarketCap or Etherscan. Search for “USDT” and select the appropriate blockchain network. Copy the contract address provided.

Step 3: Add USDT to MetaMask
Open your MetaMask wallet and ensure you’re connected to the correct network. Click on “Add Token” and select “Custom Token.” Paste the USDT contract address in the “Token Contract Address” field. The “Token Symbol” (USDT) and “Decimals of Precision” (6) should auto-populate. Click “Next” to review the token details, then click “Add Tokens.”

Step 4: Verify and start using USDT
The USDT token should now appear in your MetaMask wallet. Verify that the token details and balance are correct. You can now send, receive, and interact with USDT using MetaMask.
Learn more:
Tips and Troubleshooting When Adding USDT to MetaMask
Tips:
- Ensure you’re filling in the accurate contract address for USDT, so make sure you have that right. If you’re adding USDT to MetaMask on a different blockchain like Polygon, input the contract address for USDT on that blockchain. Reliable sites like CoinGecko and CoinMarketCap can provide you with contract addresses for different blockchains.
- Take extra care when adding custom tokens to MetaMask. There have been incidences where fraudsters create fake tokens bearing close resemblance to popular tokens. So, ensure you add the correct token by verifying the contract address.
- Before you add USDT to MetaMask, ensure that your gas fee can be covered with the ETH balance you have.
Troubleshooting:
- If you run into any problems adding USDT to MetaMask, the first step is to ensure you’re using the latest version of the MetaMask.
- And if you’re still having the same trouble, you should clear your MetaMask cache and cookies.
- If the trouble persists, try using a different browser.
Related Applications
MetaMask integrates with a wide range of DApps and DeFi protocols, enabling users to access various financial services and applications directly from their wallet. Some popular applications related to USDT and MetaMask include:
- Uniswap: A decentralized exchange (DEX) for swapping ERC-20 tokens, including USDT
- Aave: A DeFi lending platform where users can lend or borrow USDT and other cryptocurrencies
- Curve Finance: A stablecoin-focused DEX that supports USDT trading pairs
- Compound: A decentralized money market protocol for lending and borrowing USDT and other assets
Conclusion
Adding USDT to your MetaMask wallet opens up a world of opportunities in the Web3 ecosystem. By following the step-by-step guide provided, you can easily and securely store, manage, and use USDT within the MetaMask interface. With MetaMask’s multi-chain support and integration with various DApps and DeFi protocols, you can explore the full potential of USDT and participate in the growing decentralized finance landscape. Remember to always double-check the USDT contract address for the specific blockchain network you’re using to ensure the safety of your funds. Happy exploring!
FAQs
Can I add USDT to MetaMask on different blockchain networks?
Yes, MetaMask supports adding USDT on various blockchain networks, including Ethereum, Binance Smart Chain (BSC), Polygon, and more. Just make sure to use the correct USDT contract address for the specific network.
Is it safe to store USDT in my MetaMask wallet?
Yes, MetaMask is a secure non-custodial wallet that gives you full control over your funds. However, it’s essential to keep your seed phrase safe and never share it with anyone. Additionally, be cautious when interacting with unknown DApps or signing transactions.
Can I use MetaMask to swap USDT for other tokens?
Yes, MetaMask has a built-in token swap feature that allows you to easily exchange USDT for other supported tokens directly within the wallet interface. This feature is powered by decentralized exchanges like Uniswap or Kyber Network.
What should I do if I accidentally added a fake USDT token to my MetaMask wallet?
If you suspect that you’ve added a fake or malicious USDT token, immediately remove it from your MetaMask wallet. Go to the token details, click on the “Remove” button, and confirm the action. Avoid interacting with or approving any transactions related to the fake token.


